Replacing a Panel
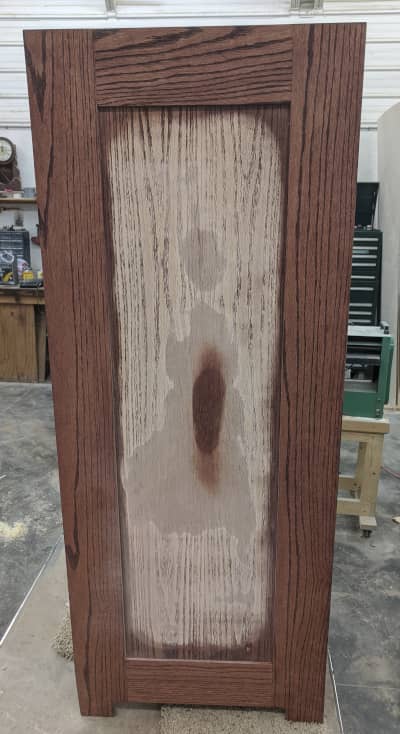
After applying the first coat of stain on a chest of drawers I noticed some swirls made by my orbital sander on one of the inset panels. I thought the stain was still wet enough to simply sand the marks out and then re-apply stain. Instead, after the second coat the area that I sanded appeared as a light spot.
Dubiously, I tried to sand the whole panel, but I ended up sanding through the veneer long before I got the panel sanded evenly enough to reapply stain. It started as a penny sized splotch and quickly expanded. Watching the oak slowly fade into mahogany was tragic but interesting at the same time.
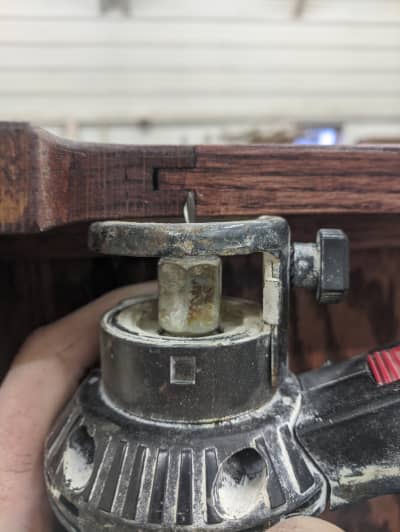
The panel is set in a tongue and groove frame. Therefore, to get it out I had to cut it out from the inside. To do this I used a Rotozip tool. My Dad happened to have the actual brand name tool, but you can also get attachment for a Dremel to do the same thing. I set the depth of the bit to cut to the panel.
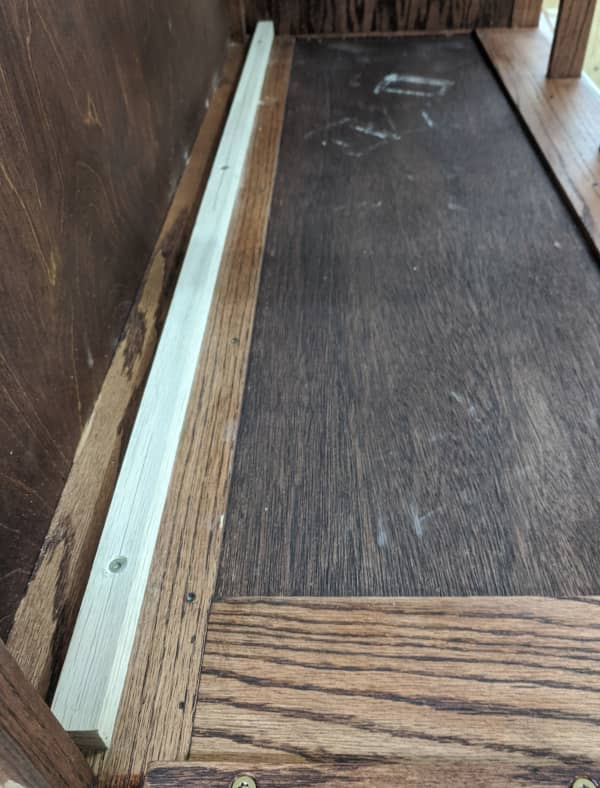
Then I screwed a guide stick onto the inside. This was set so that the I could run the Rotozip against it to cut just shy of the full depth of the groove.
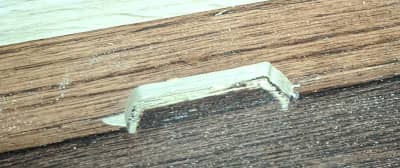
A test cut showed that I was cutting to the right depth in both directions.
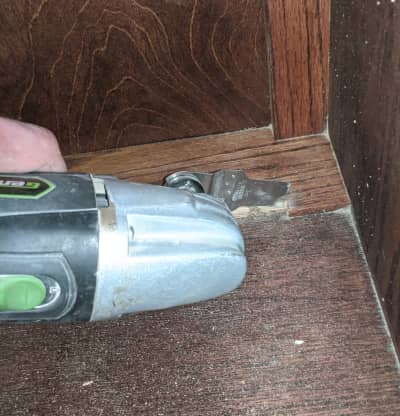
The Rotozip couldn't reach the bottom section. I rough cut them with an oscillating multitool and then cleaned up the cut with chisels.
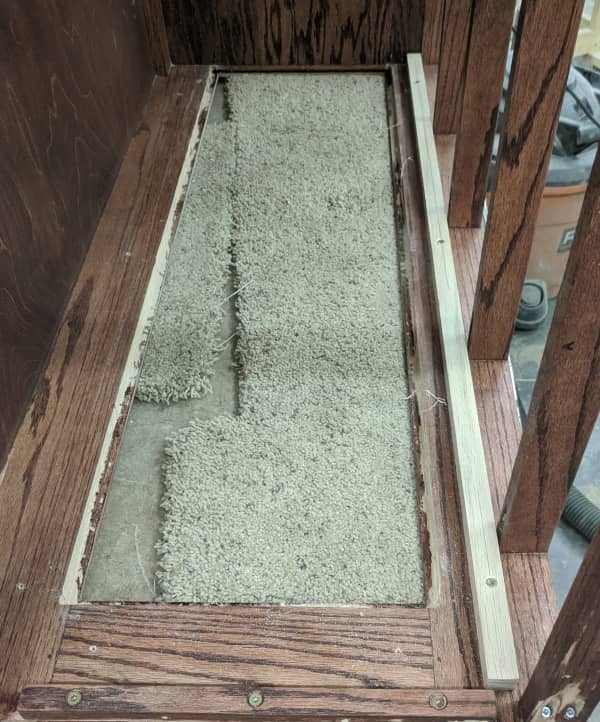
Once I had cut three of the edges off I could lift the panel up and slide it out of the bottom groove. I had only used a few brad nails and no glue to hold the panel in place, so it slid out easily.
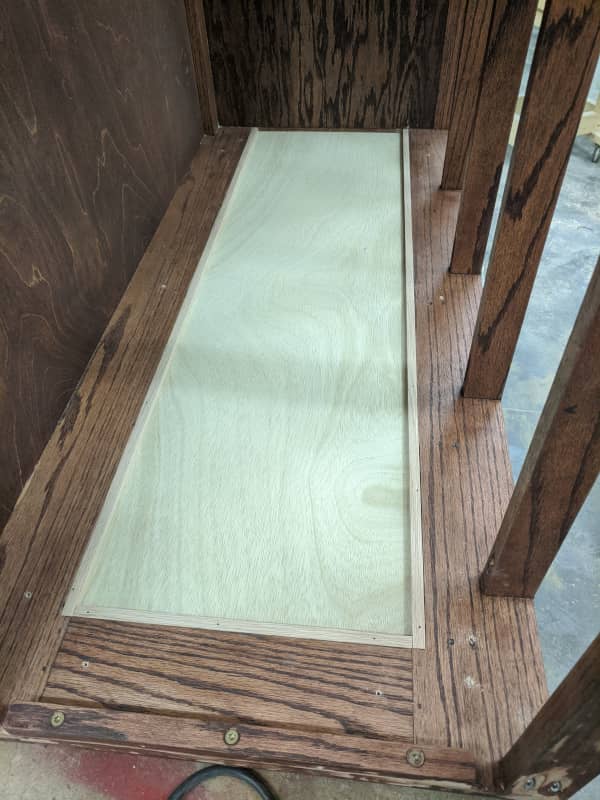
I cut out a new panel and glued it in place. I also cut some strips of oak to replace the material that I cut away. To hold everything in place while the glue dried I shot 5/8" brads through both the oak strips and the panel.

Then I just stained it to match.